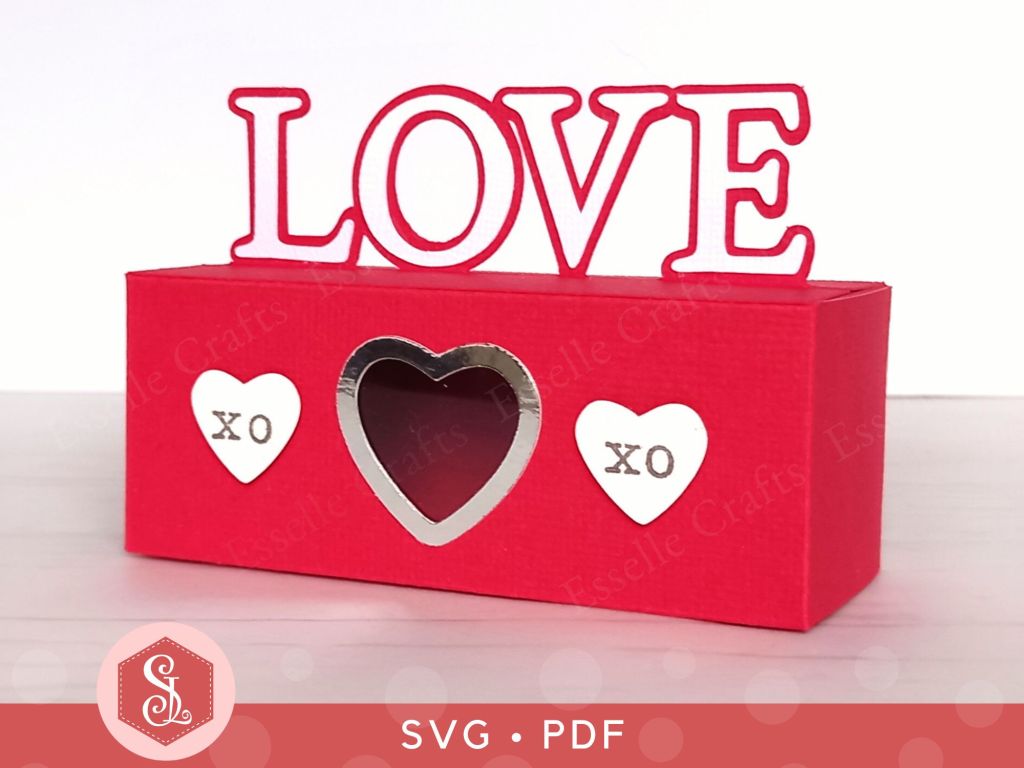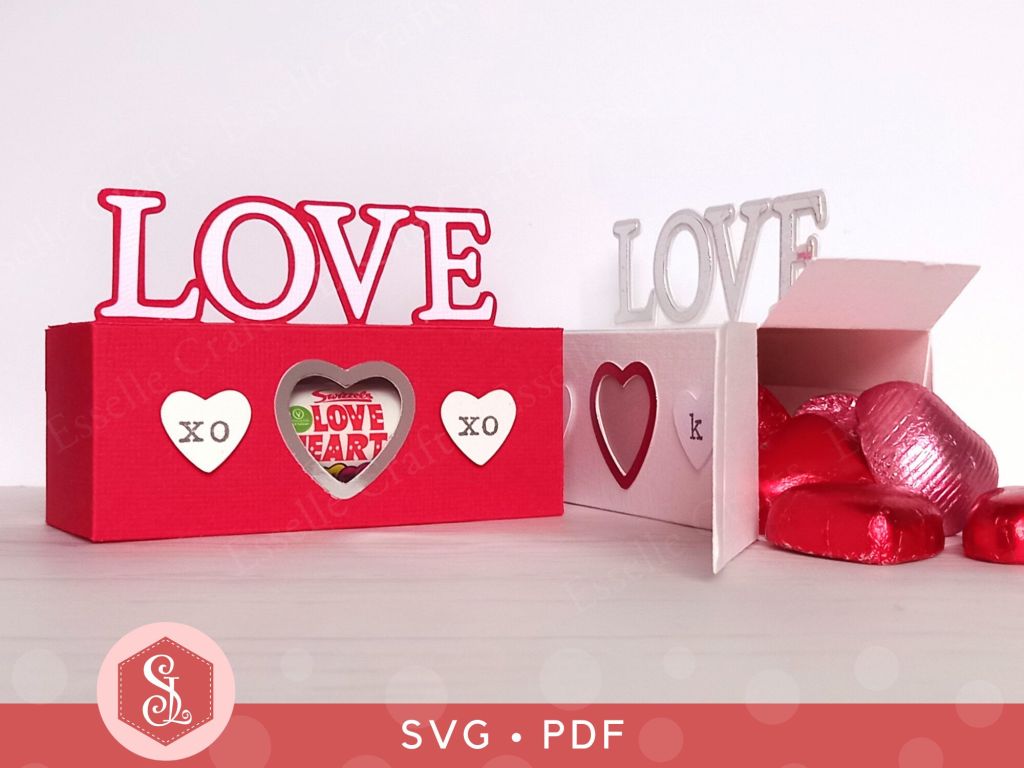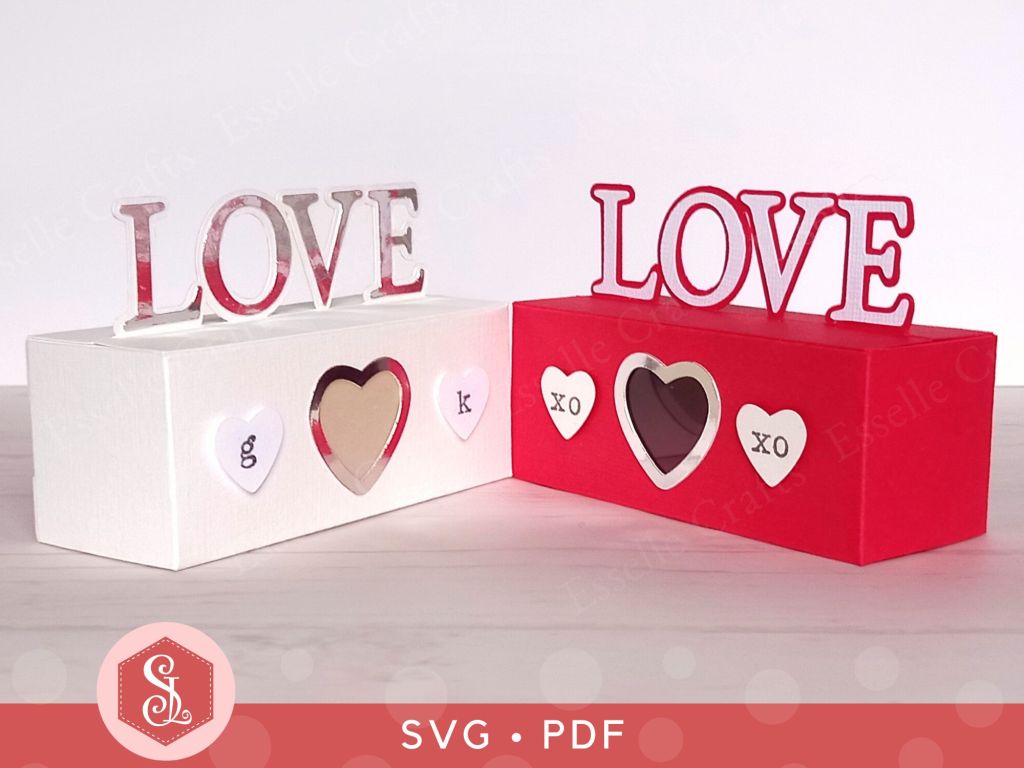
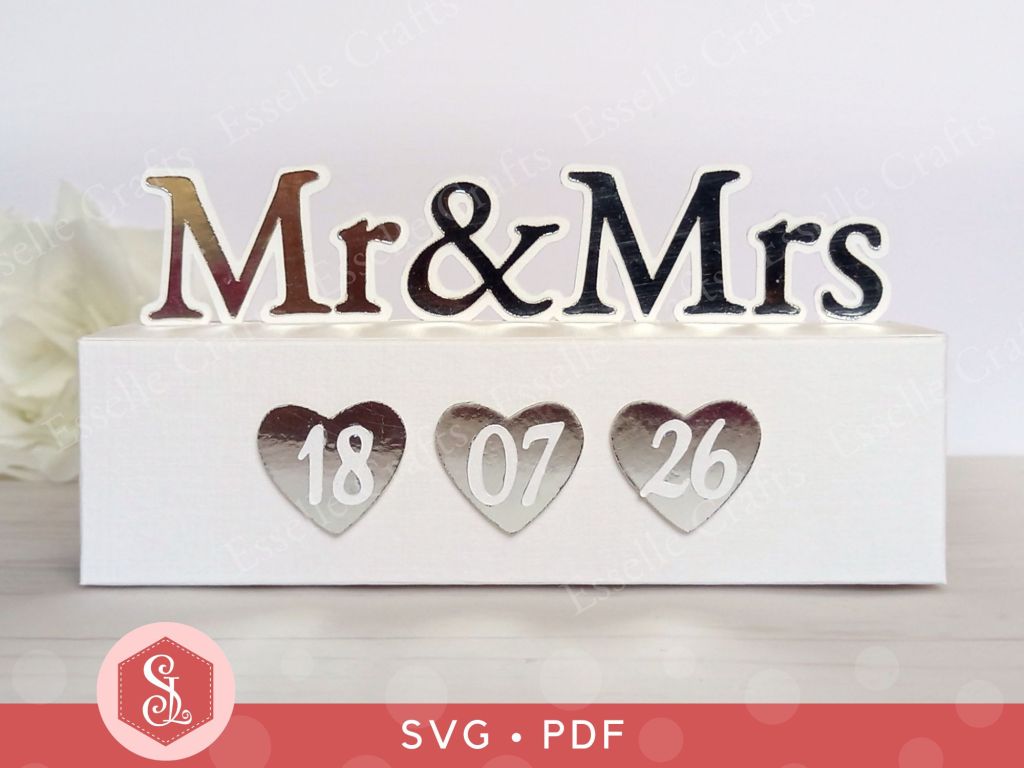
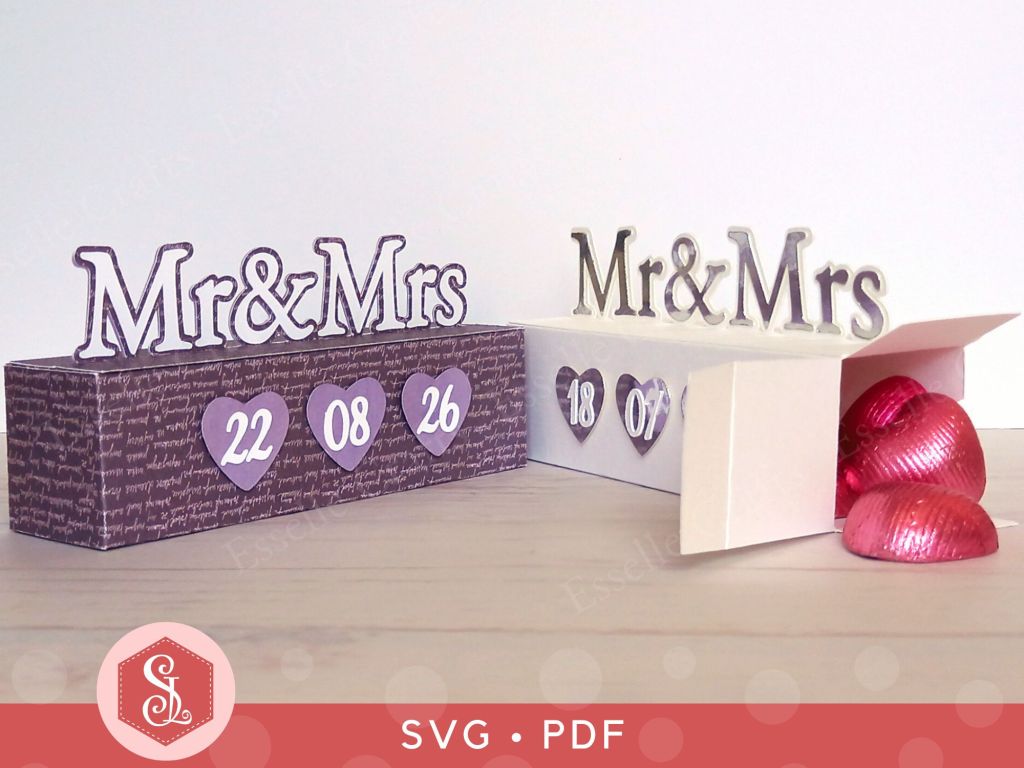
This impressive Mr & Mrs treat box is the perfect way to add a little handmade happiness to your wedding gift giving.
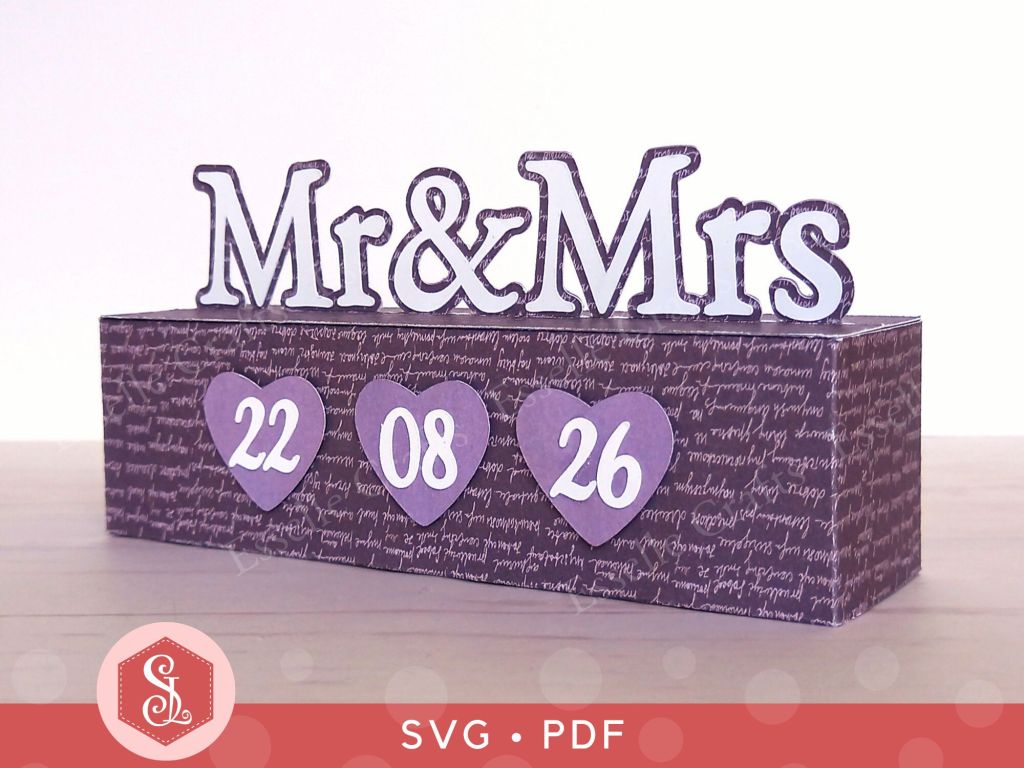
Designed with simplicity and creativity in mind, it can be filled with chocolate hearts, sweets, small gifts or thoughtful surprises for the bride and groom, and can even be personalised with the date of the wedding!
The templates for this heartfelt box come as SVG cut files, as well as printable PDFs if you prefer to cut out by hand.
To make one, you will need:
* Mr & Mrs Treat Box template (available as SVG cut files and printable PDFs)
* Computer and printer to print the PDF templates and instructions
* Digital cutting machine
* Double-sided cardstock (220-250gsm / 80-92lb recommended)
* Craft glue / double-sided tape
Watch my video tutorial showing how to assemble the treat box, and be sure to follow the tips below:
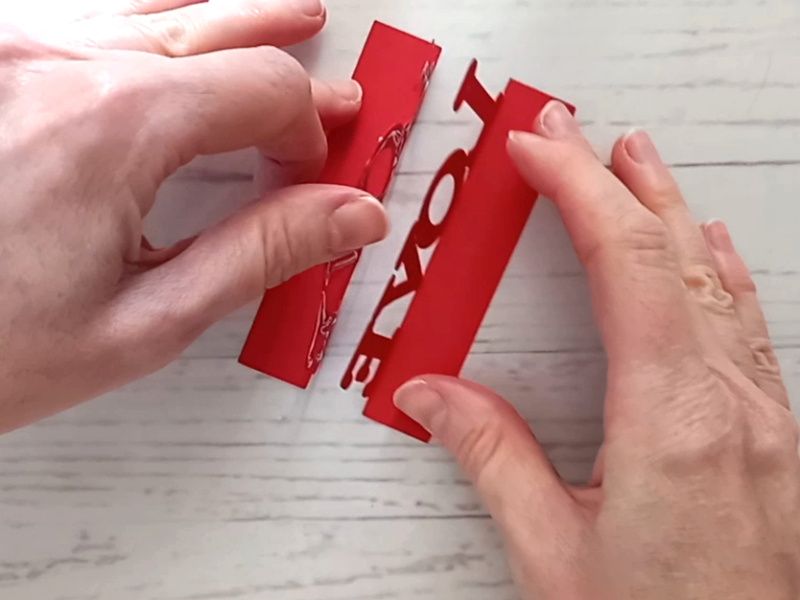
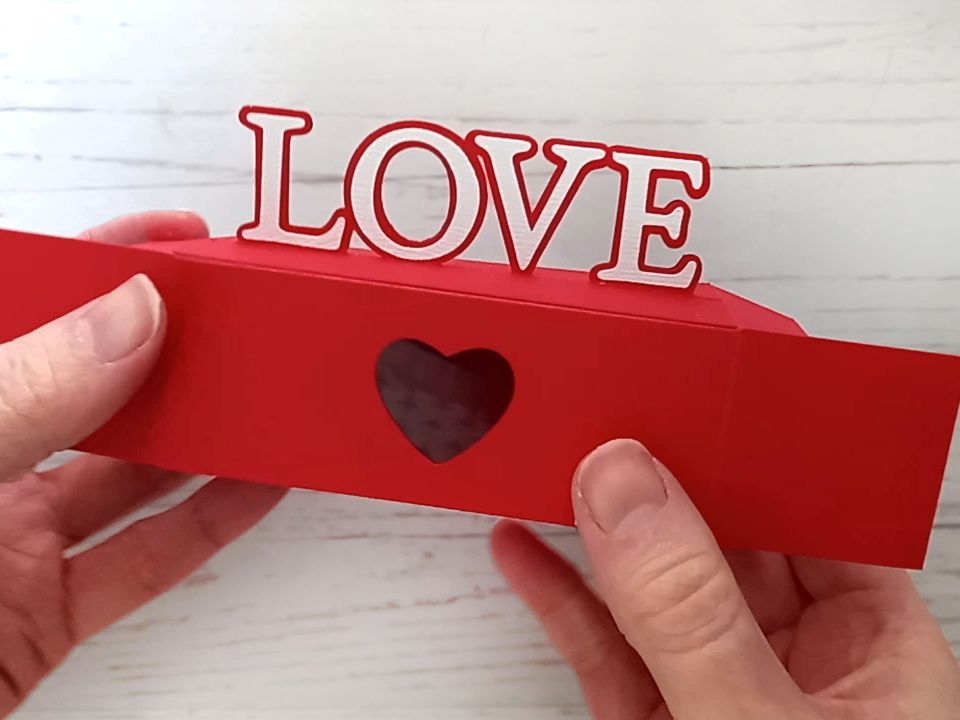
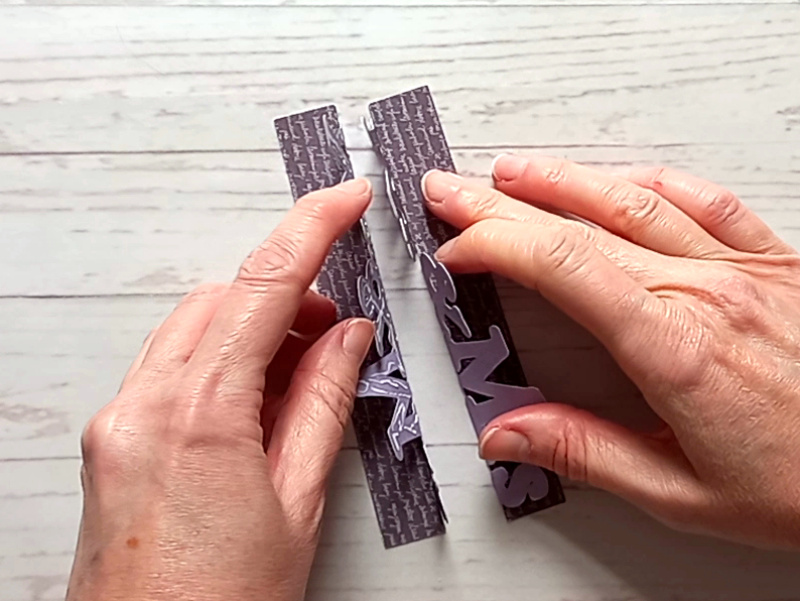
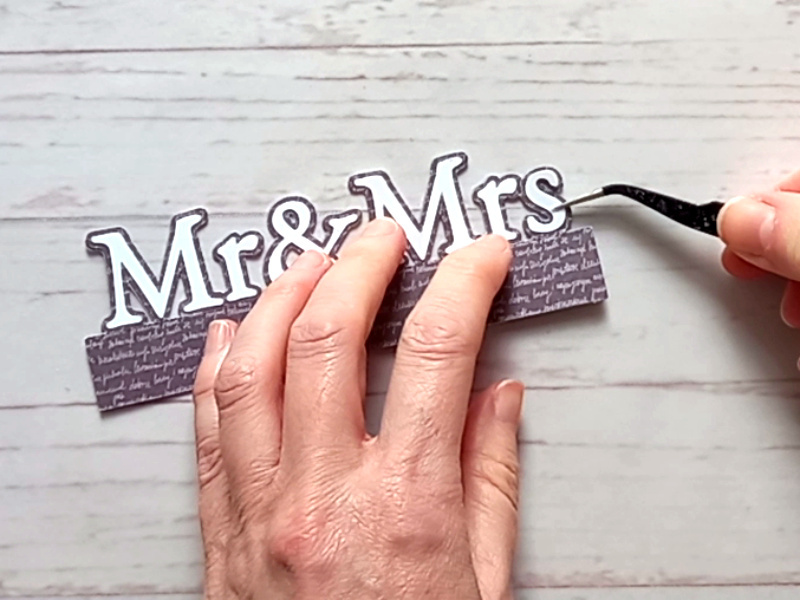
TIP 1 : After gluing the backs of the letters, slide the two top pieces together, so that the words Mr & Mrs line up perfectly.
TIP 2 : Glue the individual letters on before gluing the finished top piece to the top of the box, so that you can lay it flat.
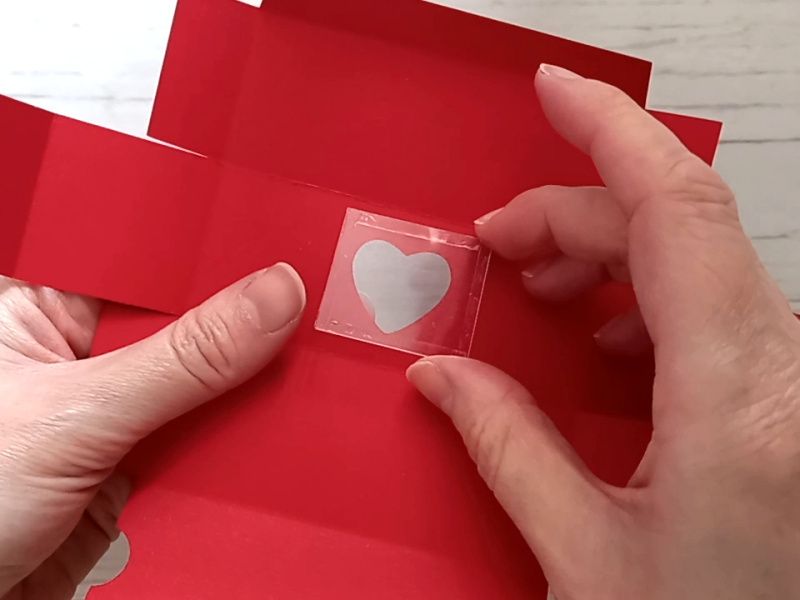
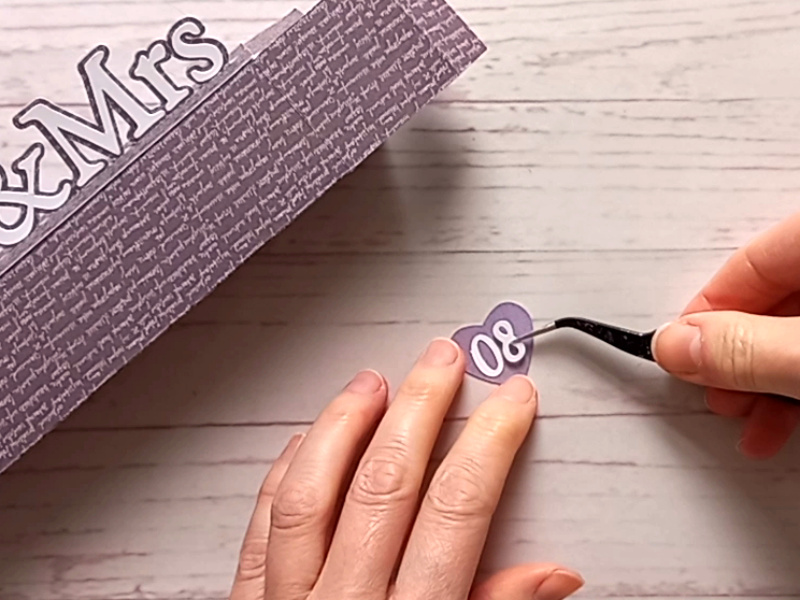
TIP 3 : Personalise the box with the date of the wedding using the three little hearts and the numbers supplied. Alternatively, you could keep the hearts plain, or stamp initials / numbers onto them.
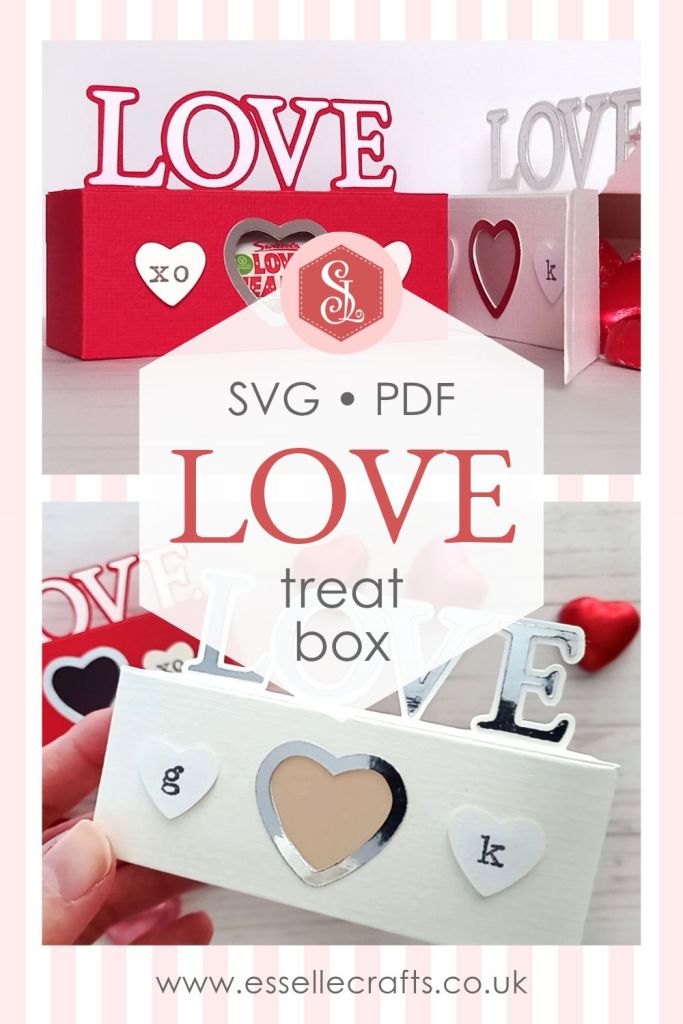
Whether you’re crafting for family or friends, this little treat box comes together quickly and easily – perfect for wedding favours or an anniversary keepsake!
Happy crafting!
Suzanne